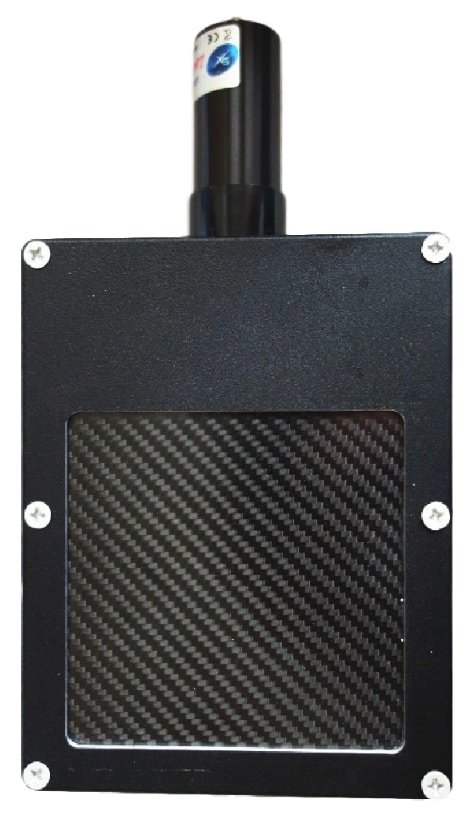
Disassembly of the Slim CCD Lodestar Camera
Lodestar cameras can be disassembled by removing the front aluminium screws and carefully prying open the faceplate which contains the scintillator. The mirror and scintillator can then be replaced . The lens can be unscrewed, and the cylindrical CCD unit removed by unscrewing its locking screw. Click the photos to enlarge themDo not disassemble the camera if it's not necessary - you must then refocus the lens.
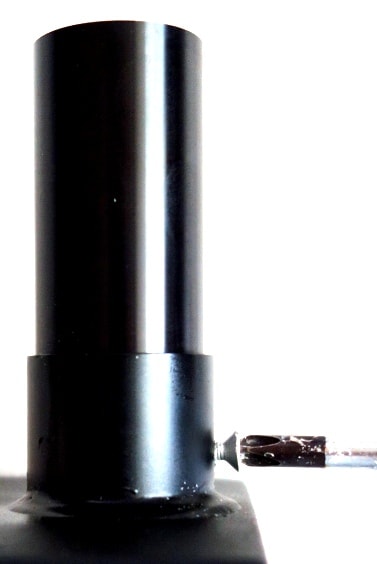
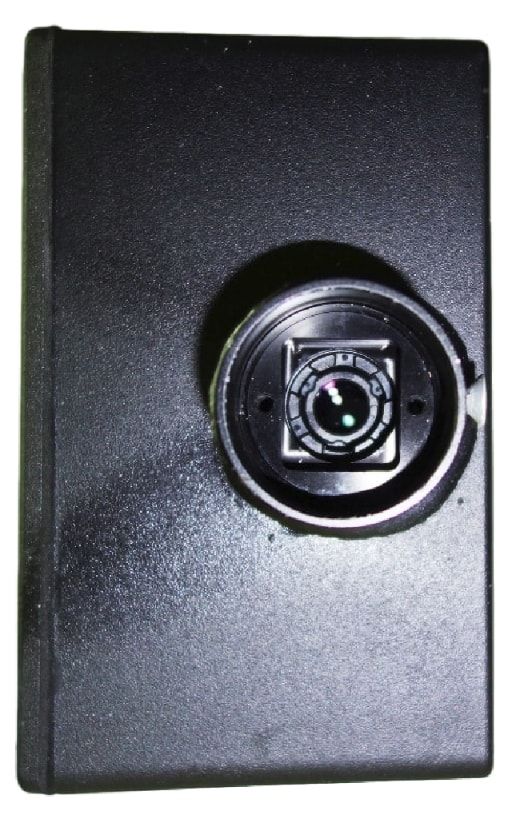
Disassembly of the Lodestar CCD unit without camera disassembly
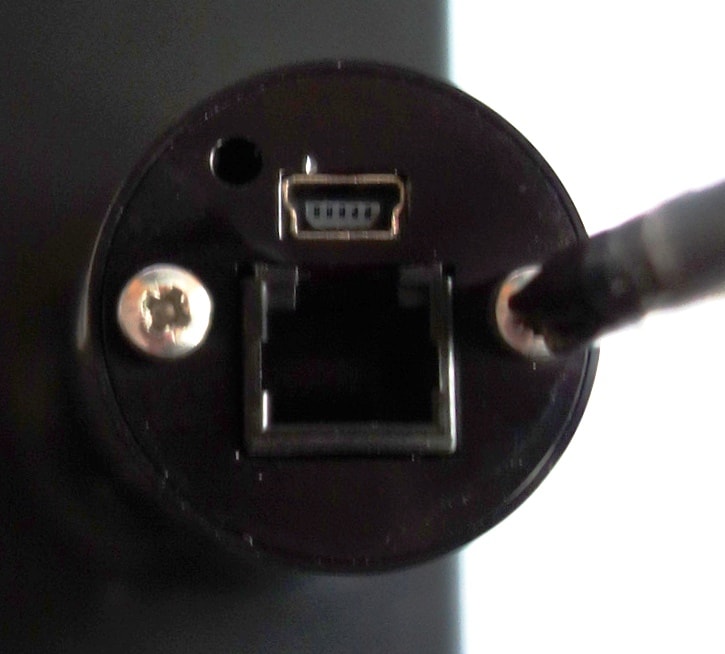
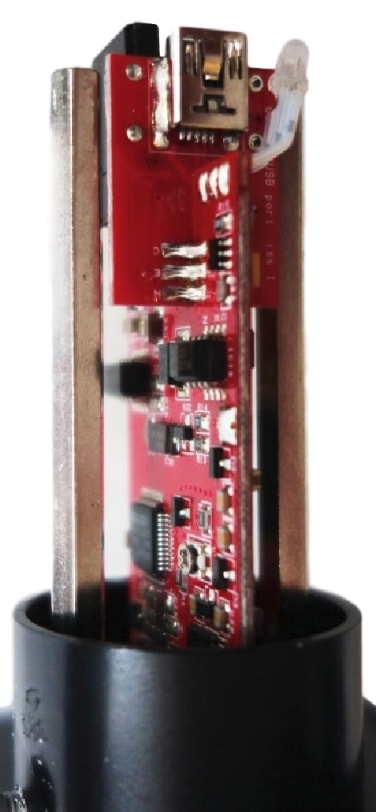
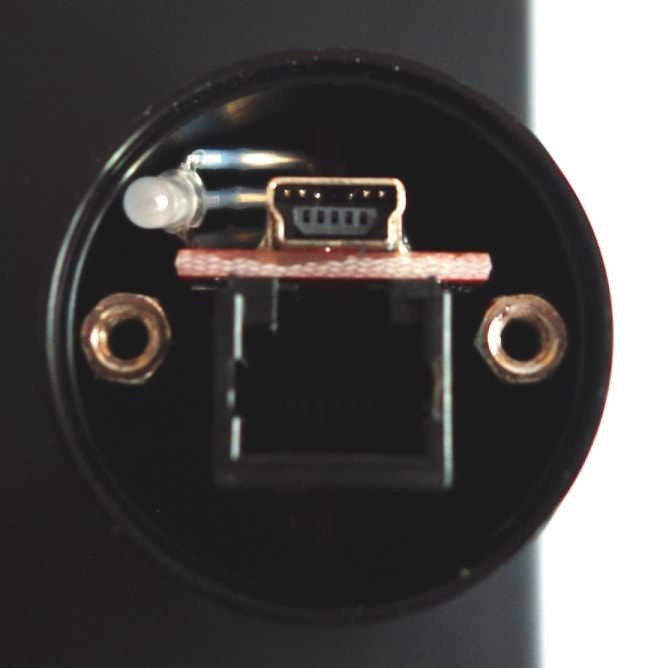 The CCD unit backplate can be removed by unscrewing the two screws, and then the black metal shell can be simply pulled off to reveal the motherboard, which is held by two hexagonal metal columns. You can then check the USB socket.
The columns can also be unscrewed to remove the motherboard containing the CCD chip.
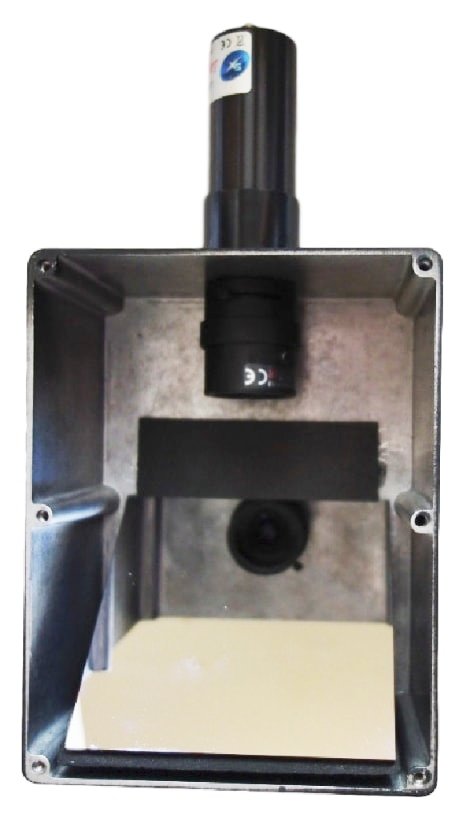
Inspection of Lodestar CCD motherboard without camera disassembly
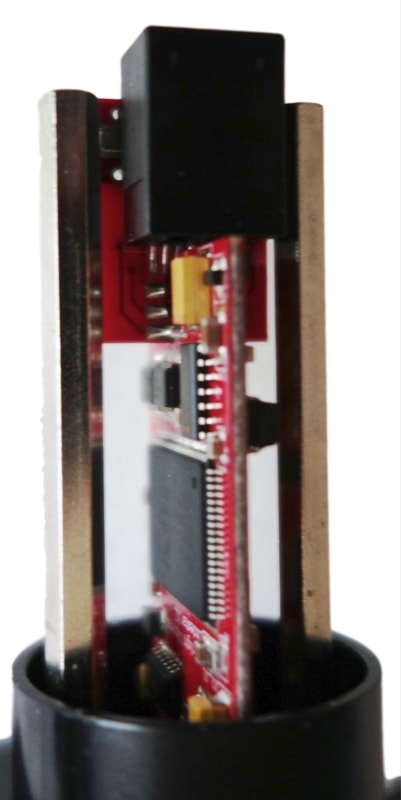
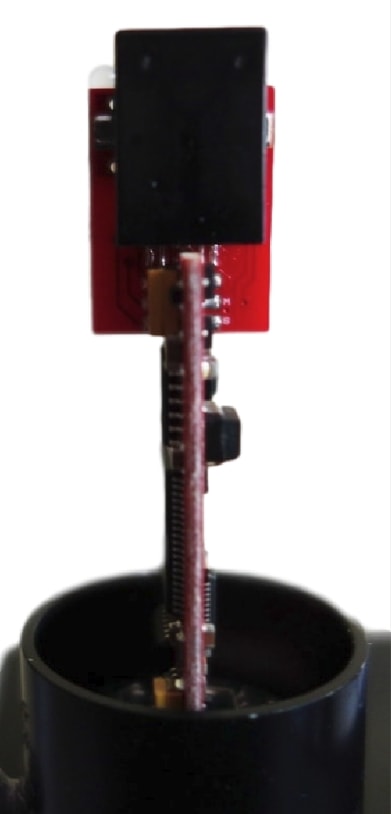
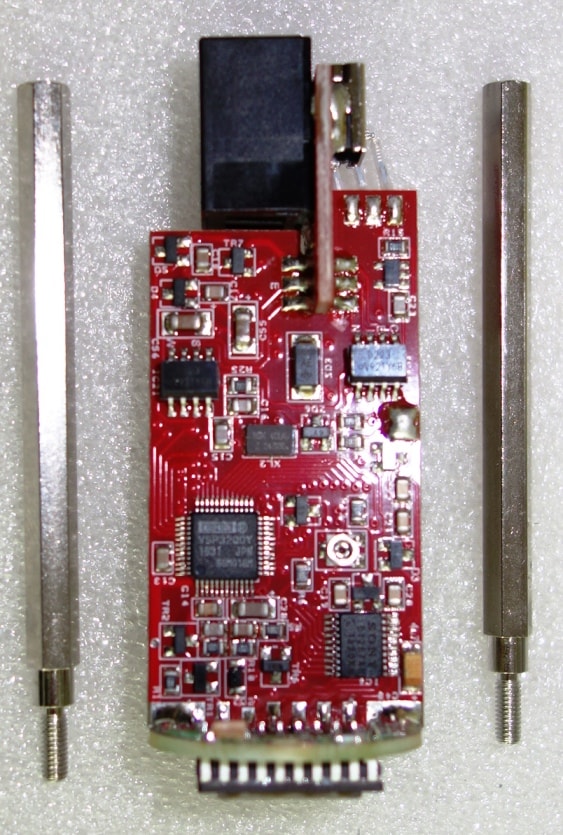
The left photo shows the base of the lodestar CCD unit, still held by its locking screw. The right photo shows the lodestar motherboard with the two hexagonal pillars that screw into the base to hold it. The CCD chip is at the bottom of the motherboard, and must be re-located in the rectangular hole in the base through which the rear of the lens can be seen.
Again, do not disassemble the lodestar motherboard if it is not really necessary.
For the latest information, check our web site http://neutronoptics.com/disassembly.html
A PDF version of these instructions is available,